Replacing active coolers
These days, products like graphics cards and motherboards come with active cooling (read: fans) of abysmal quality. Within a couple of months they’re noisy and after another few months they stop, causing your computer to have a nuclear meltdown.
At the same time, finding a good replacement cooler is not always easy. So, I’ve come up with a way to mount non-standard coolers that seems to work pretty well. The method can also be used for mounting coolers that are bigger than what the designers intended.
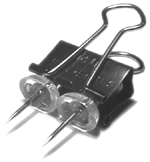
You’ll need: Some wire, a soldering iron and solder, some nylon string and a spring. The springs that hold the fabric in place on office chairs seems to work well :)
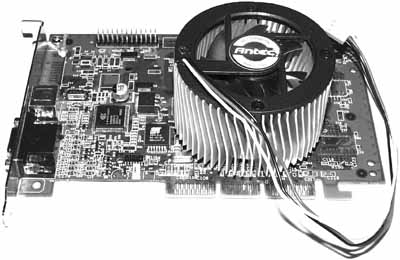
Start with your average graphics card where the dead cooler has been removed. Don’t remove the goo on top of the chip unless you have new thermal compound to replace it with or the cooler has a thermal pad.

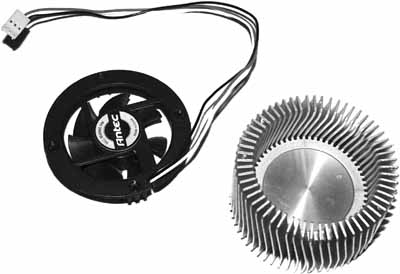
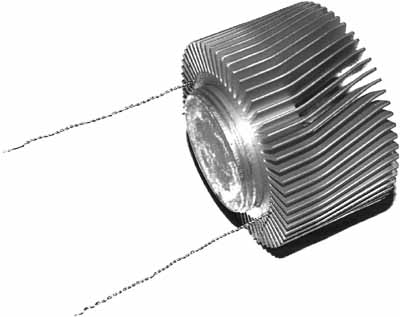
The replacement cooler. Make sure there’s room for it to sit on top of the chip. Some coolers have extra plates and fastening mechanisms that may need to be removed.
Strip a wire, thread it around one of the cooling fins...
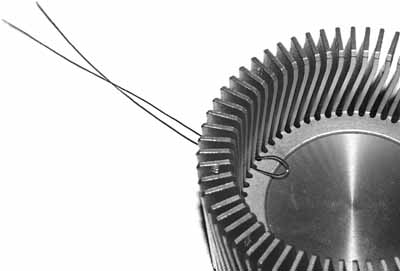
...and twist the wire up. Repeat on the opposite side.
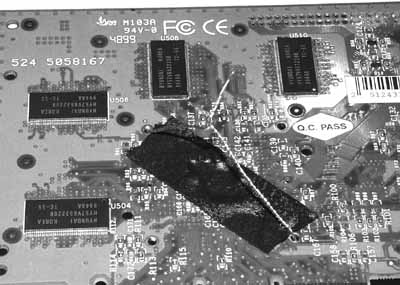
Put down electrical tape between the two mounting holes. Thread the wires through the cooler mounting holes in the board. Make sure the cooler sits correctly on the chip on the other side and twist the wires up tightly.
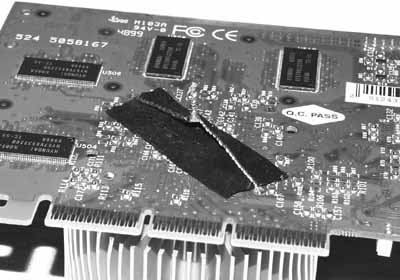
Solder the ends together.
Put electrical tape where the spring is going to be. Stretch out the spring to see where the spring will sit when holding the cooler snugly in place. Make a loop of the string going from a corner of the card and out to the point where the spring should end. If you’re using nylon string, burn the ends to keep them from fraying.
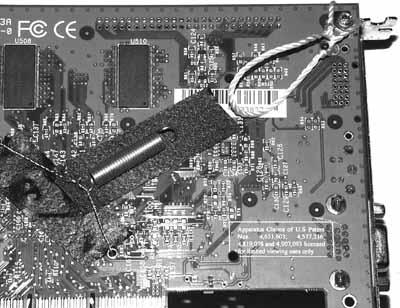
Hook up the spring...
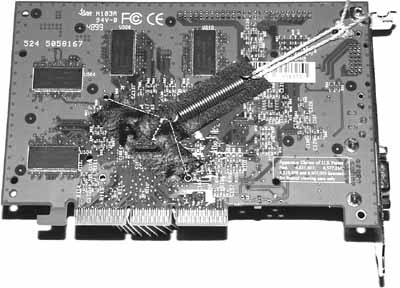
...and you’re done.
