Replacing disk on WD MyBook
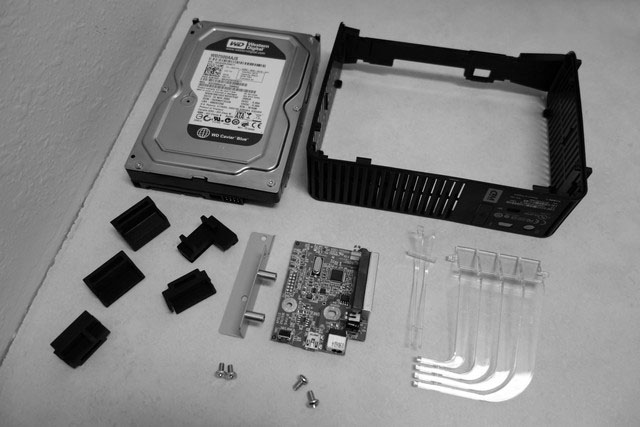
Assembling an older WD MyBook and getting it working with a newer WD disk.
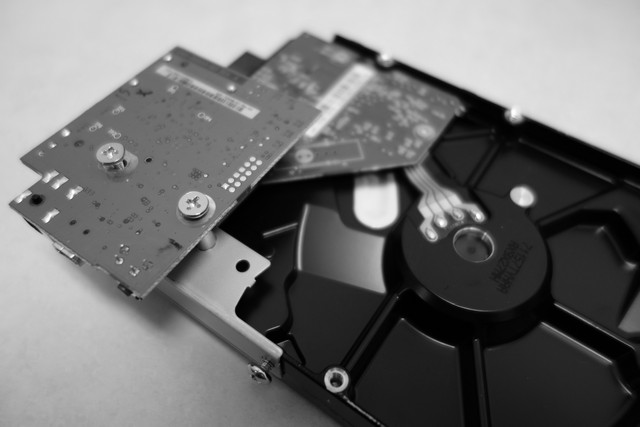
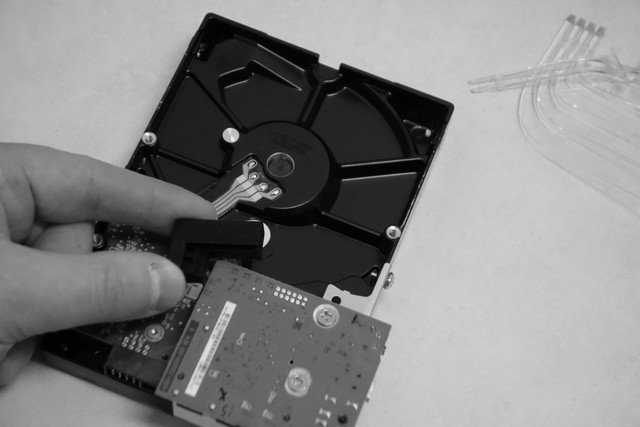
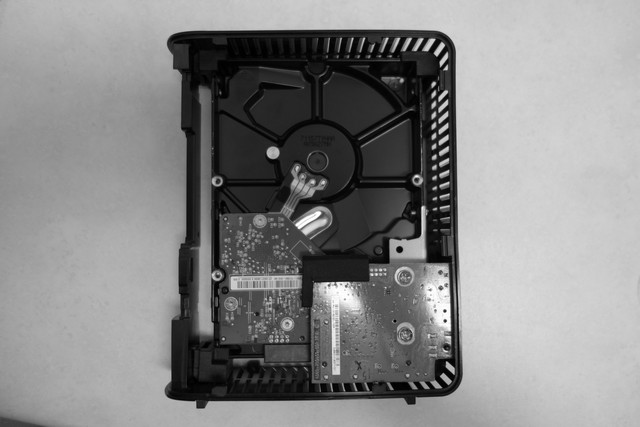
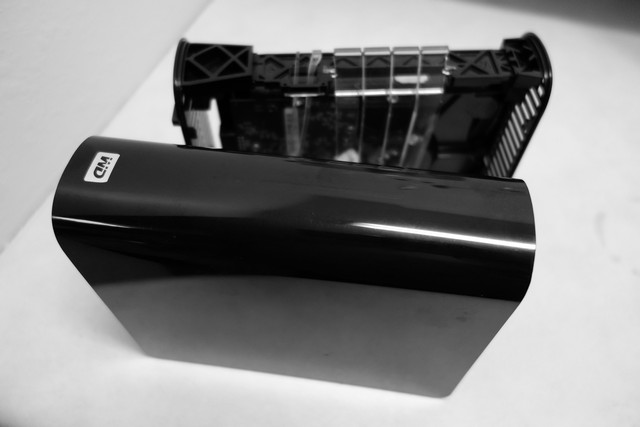
Mount the bracket onto the disk with the 2 screws with rounded heads. Then connect the interface board to the disk and fasten it to the bracket with the 2 screws with flat heads.
Push the rubber holder onto the corner of the interface board with the flat side facing up.
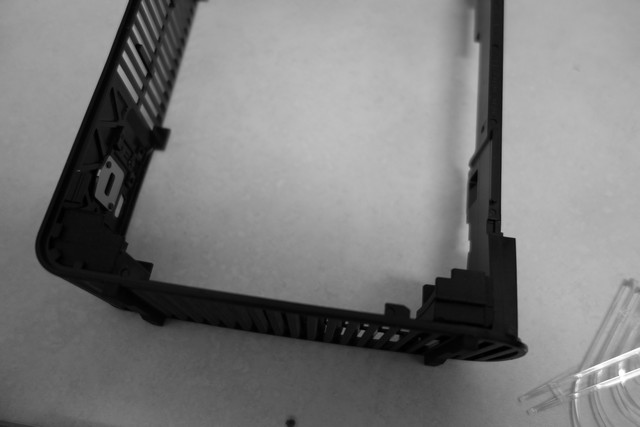
There are two rounded and two square rubber shoes, none of which are interchangeable. They correspond with the rounded and square sides of the frame. Locate one rounded and one square rubber shoe in which the square slots correspond with protruding sections in the lower part of the frame.
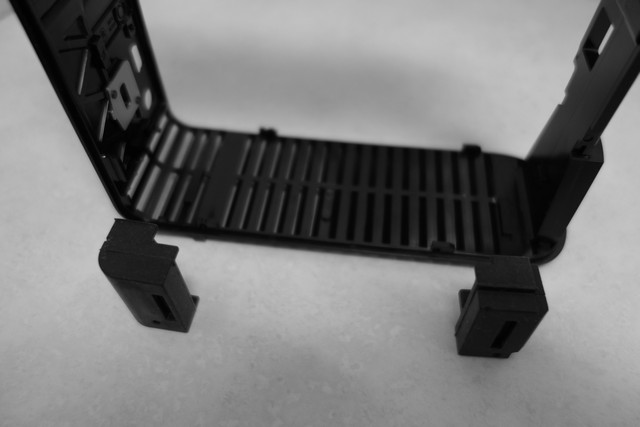
Place the shoes in the frame.
Place the two remaining shoes on the top of the disk. Then place the disk in the lower shoes and push the upper part of the disk into place.
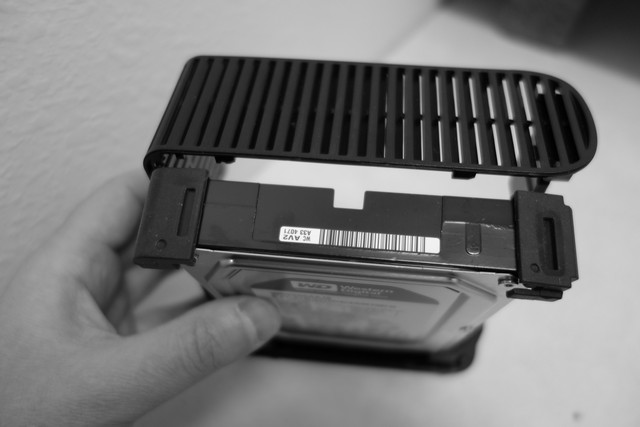
Correctly mounted disk.

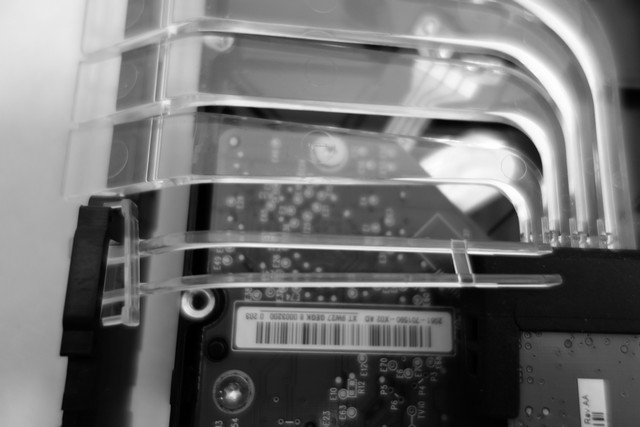
Slide the wide section of light pipes into the rubber holder then slightly bend to snap them into the grooves in the front of the frame.
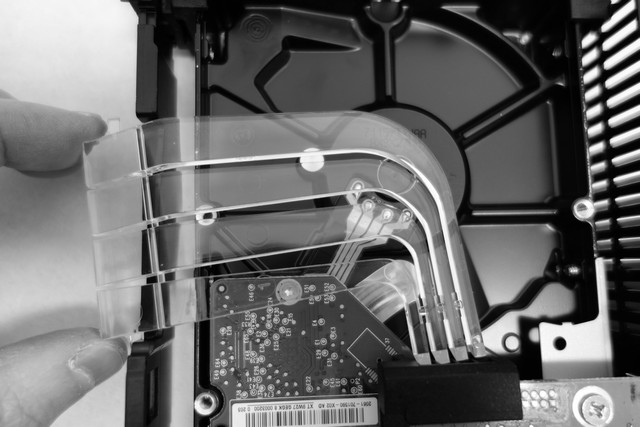
Slide the narrow light pipes into the front holder
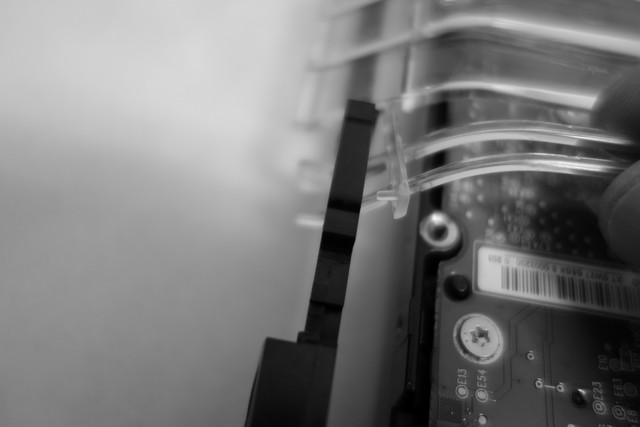
Bend the narrow light pipes to get them to snap into the rubber holder. It requires fairly a fairly sharp bend but they didn’t break.

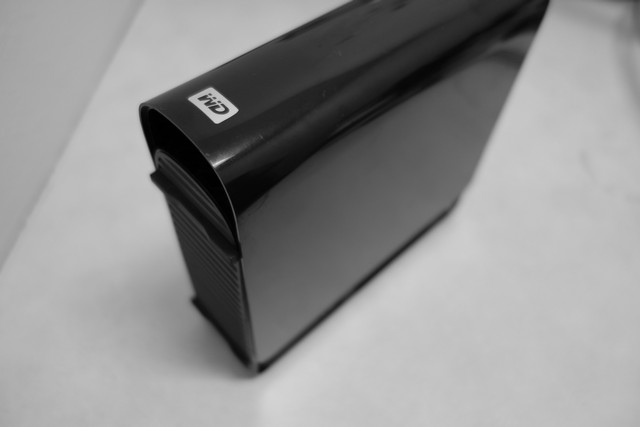
Then slide the lid on.
After hooking up the WD MyBook, I found that I could not format the disk directly from Windows.
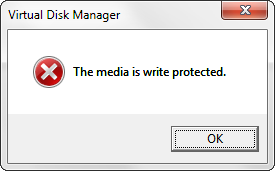
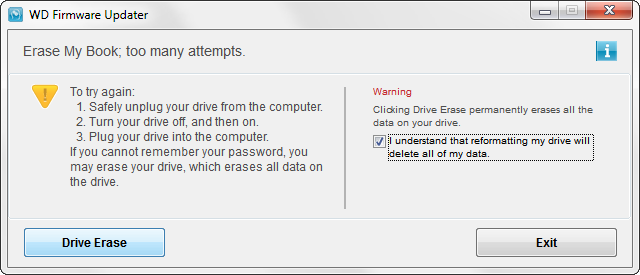
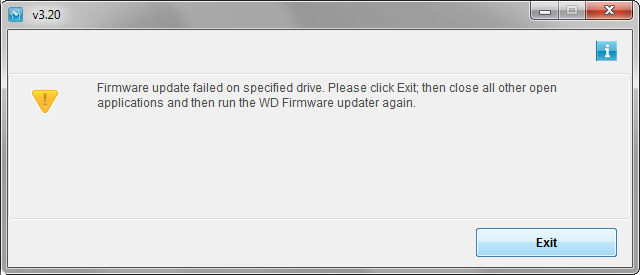
The disk must first be flashed with new firmware with the WD Firmware Updater.
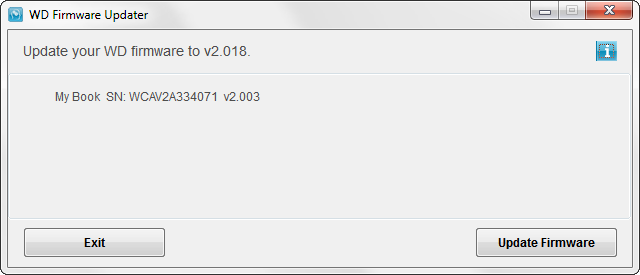
The WD Firmware Updater failed with these error messages but despite this, the update did work.
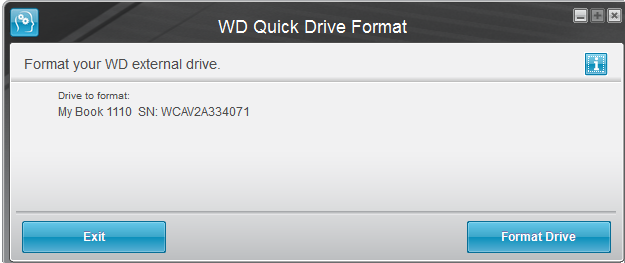
Then format the drive with the WD Quick Drive Format program.